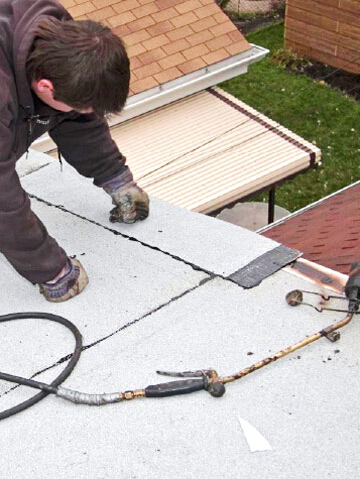
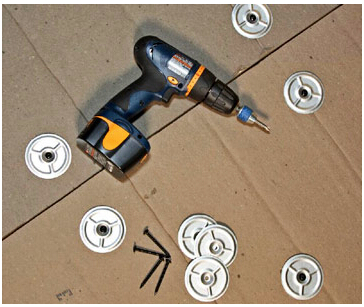
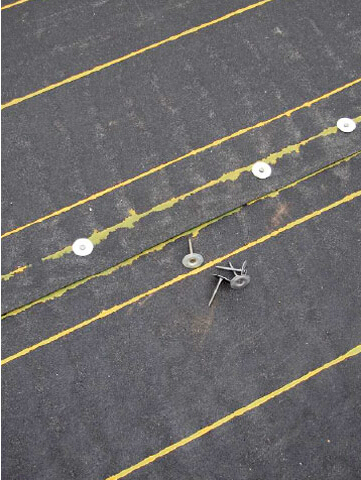
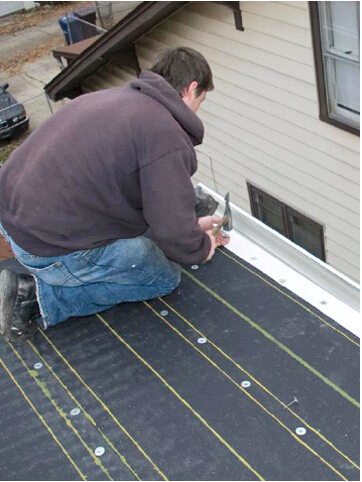
What You Need · Tape measure · Hammer · Chalk line · Large propane torch · Utility knife with hook blade · Spark igniter · Roof insulation · Heavy roofing felt · Modified-bitumen roofing · Drip-edge and other flashings · Spray primer · Cap nails · Roofing nails · Roofing cement Remove all obstructions and sweep the roof clean of debris. You may need to remove old flashings. If your roof is not already insulated, it is usually worth the time and expense to lay sheets of rigid insulation made for a flat roof. Cut them to fit fairly tightly and make sure that you will support the flashing pieces at the ends. Attach the insulation with fasteners as recommended by the manufacturer—in this case hold-down plates and specially-coated screws long enough to penetrate the decking. Apply extra-heavy (typically 43-pound) roofing felt over the sheathing, old roof, or the insulation. Drive cap nails 6 to 8 inches apart in rows along the top and bottom of the sheets, as well as in a row in the middle. Attach drip-edge flashings as needed. You will install rake-end flashings later. Use wide flashings approved for use with a flat roof and attach them with roofing nails every 8 to 12 inches. To ensure that the roofing will stick firmly to the flashing, spray the flange of the flashing with a special primer. Roll out a sheet of roofing. Allow it to overhang the rake or side of the roof by a couple of inches; you will cut it precisely to length later. Take care to avoid bubbles or creases. Cut the roofing roughly to length, again allowing it to overhang by a couple of inches. Adjust the position of the sheet so that it overhangs the drip-edge flashing by 1/2 inch or so all along its length. Check that the roofing lies perfectly flat. Taking care not to move the roofing out of position as you work, reroll the roofing halfway. Keep the roll fairly tight so that it will roll back neatly. Turn on the gas and light the torch, using a spark igniter. Wear heavy gloves and long sleeves to protect yourself from the heat. Adjust the torch so it produces a concentrated flame that is mostly blue. Run the tip of the flame along the intersection of the roofing roll and the sheathing; the idea is to lightly melt both the roofing and the felt. Once you see heat bubbles along the roll's width, use your foot to gently roll the roofing forward. Take your time rolling and heating so that the roofing is heat-adhered at all points. Take special care to produce tight seals at the ends. Often you can use the spark igniter as a tool to gently lift up an end while you apply heat. Along the flashing and at the rake end, press down with your foot to ensure a tight seal. Align the next sheets so they cover the unfinished top edges. Because the sheets are wide, you usually do not need to worry about precise alignment of each sheet in relation to the ridge. Torch and roll succeeding sheets the way you did the first sheet. Take special care to fully heat the seam between the sheets. Press with your feet, then a gloved hand, to tighten the seal at the seam between the sheets. A small amount of melted black sealant should ooze out all along the joint. At a vertical seam (or butt joint), fully seal the first piece onto the underlayment. Cut the next piece so it overlaps by 4 to 6 inches. Align the second sheet and torch and roll it toward the first. Complete a vertical seam by pressing with gloved hands, making sure that a small amount of melted black sealant oozes out all along the joint. If you have a ridge, first install sheets on each side. Position a sheet along a ridge and cut it lengthwise so it will just overlap the seam seal. Torch one side of the ridge, then the other. Take special care to make tight, fully adhered seams. Cut rake ends flush with the outside edge of the sheathing. You can use a chalkline for this, but it is usually not necessary because the rake will be covered with flashing. Install drip-edge flashing along the rakes and spray with primer. Cut a number of strips, about 8 inches wide, to cover the rake flashing. Use a chalkline and tape measure to make precise cuts only if the roof will be highly visible. Starting at the bottom, position the strips so they overhang the flashing by 1/2 inch or so. Torch the pieces onto the flashing and the roofing. Press the strips firmly into place. When you reach the ridge, cut and install a strip that is the same length as the width of the ridge sheet. Source:http://www.bhg.com/home-improvement/exteriors/roofs/how-to-install-modified-bitumen-roofing/Step 1: Clean and Insulate the Roof
Step 2: Apply Roofing Felt
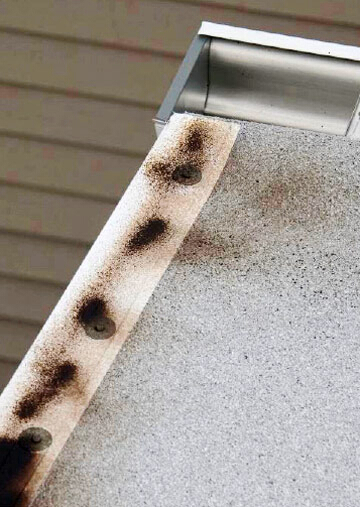
Step 3: Attach Drip-Edge Flashings
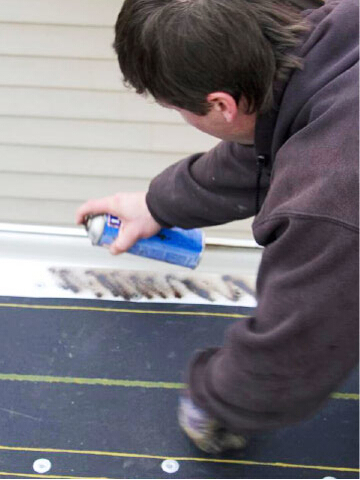
Step 4: Apply Primer
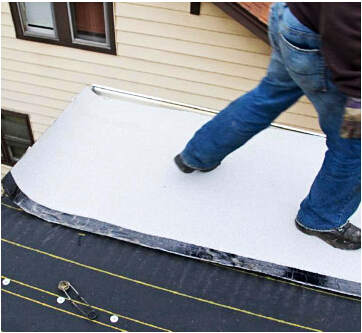
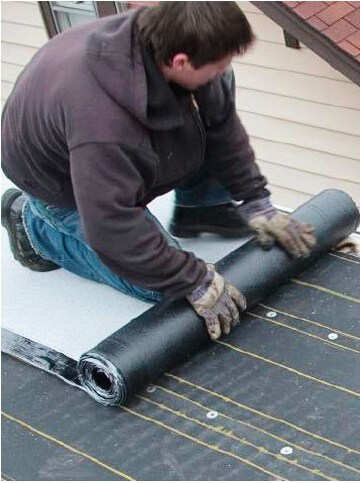
Step 5: Roll Out Roofing
Step 6: Cut Roofing to Length
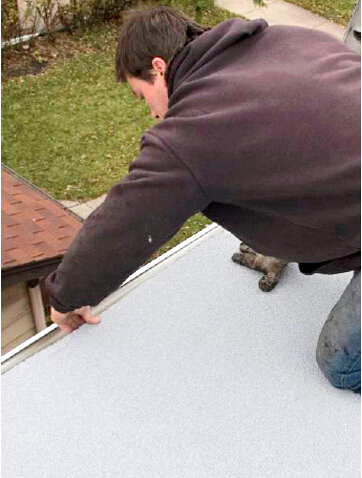
Step 7: Adjust Roofing
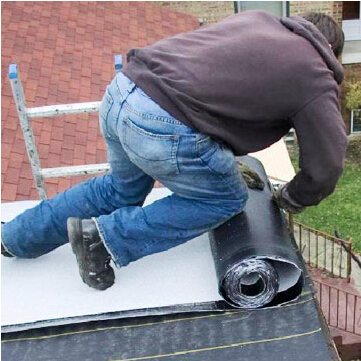
Step 8: Partially Reroll Roofing
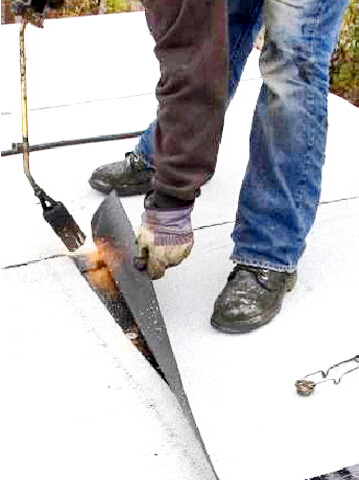
Step 9: Light the Torch
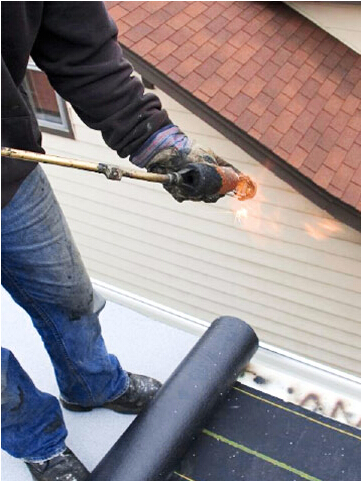
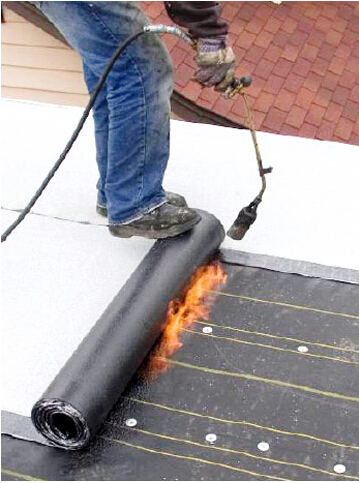
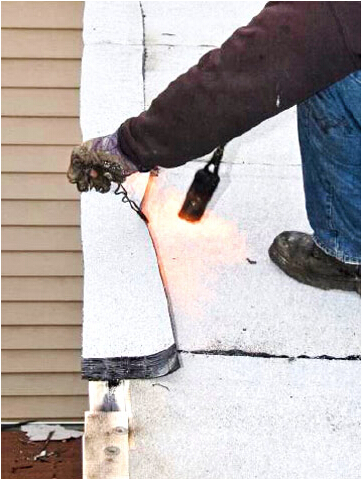
Step 10: Roll Roofing
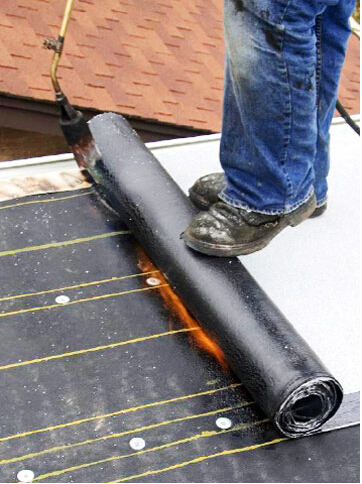
Step 11: Roll and Heat
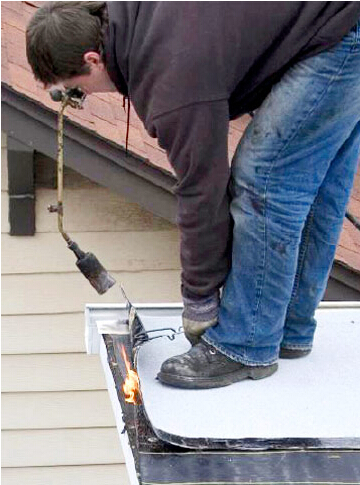
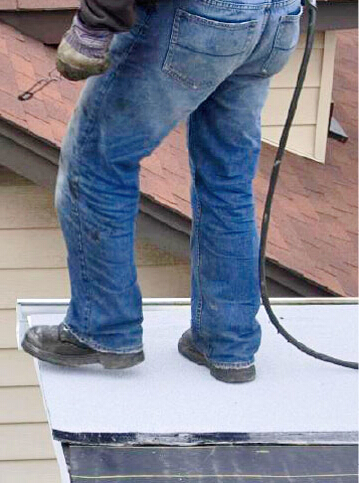
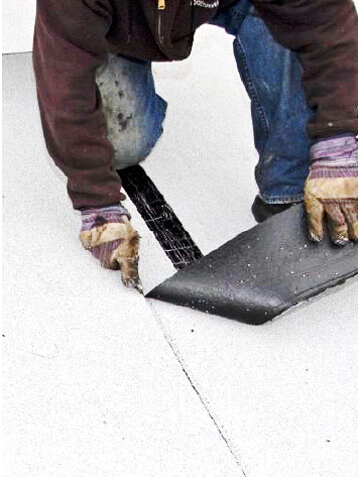
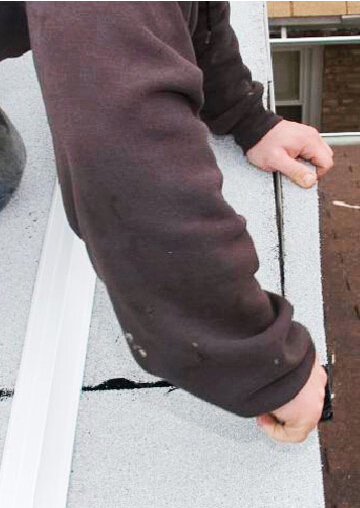
Step 12: Seal at the End
Step 13: Align Next Sheets
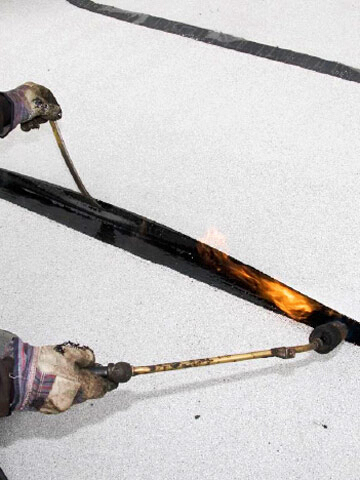
Step 14: Continue to Torch and Roll
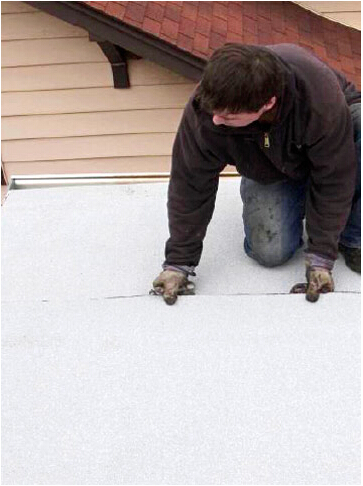
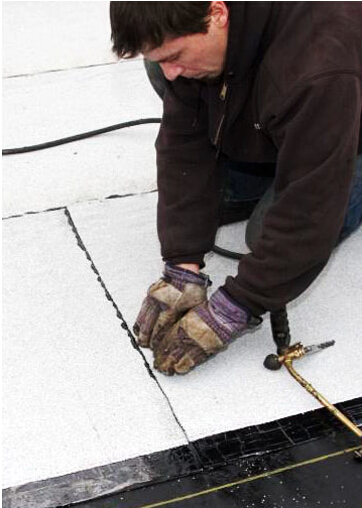
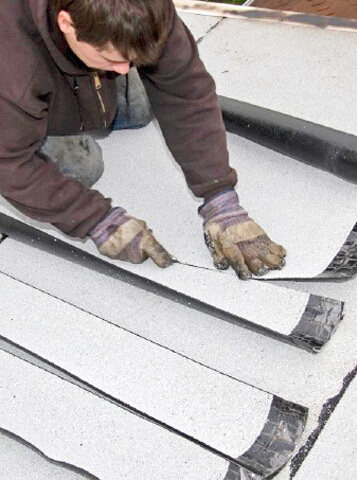
Step 15: Tighten the Seal
Step 16: Fully Seal at Butt Joints
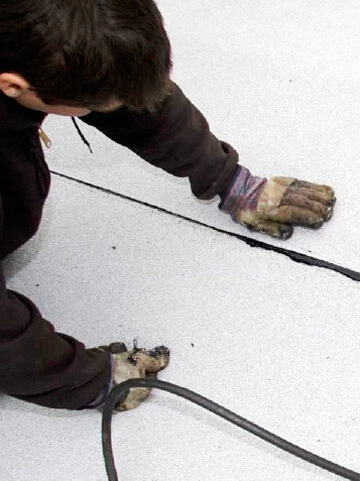
Step 17: Seam Vertically
Step 18: Position Sheets Along Ridge
Step 19: Torch Ridge
Step 20: Cut Rake Ends
Step 21: Attach More Flashings
Step 22: Cover Flashing
Step 23: Torch Flashings
Step 24: Press and Install Strips